want to listen to the recipe ?

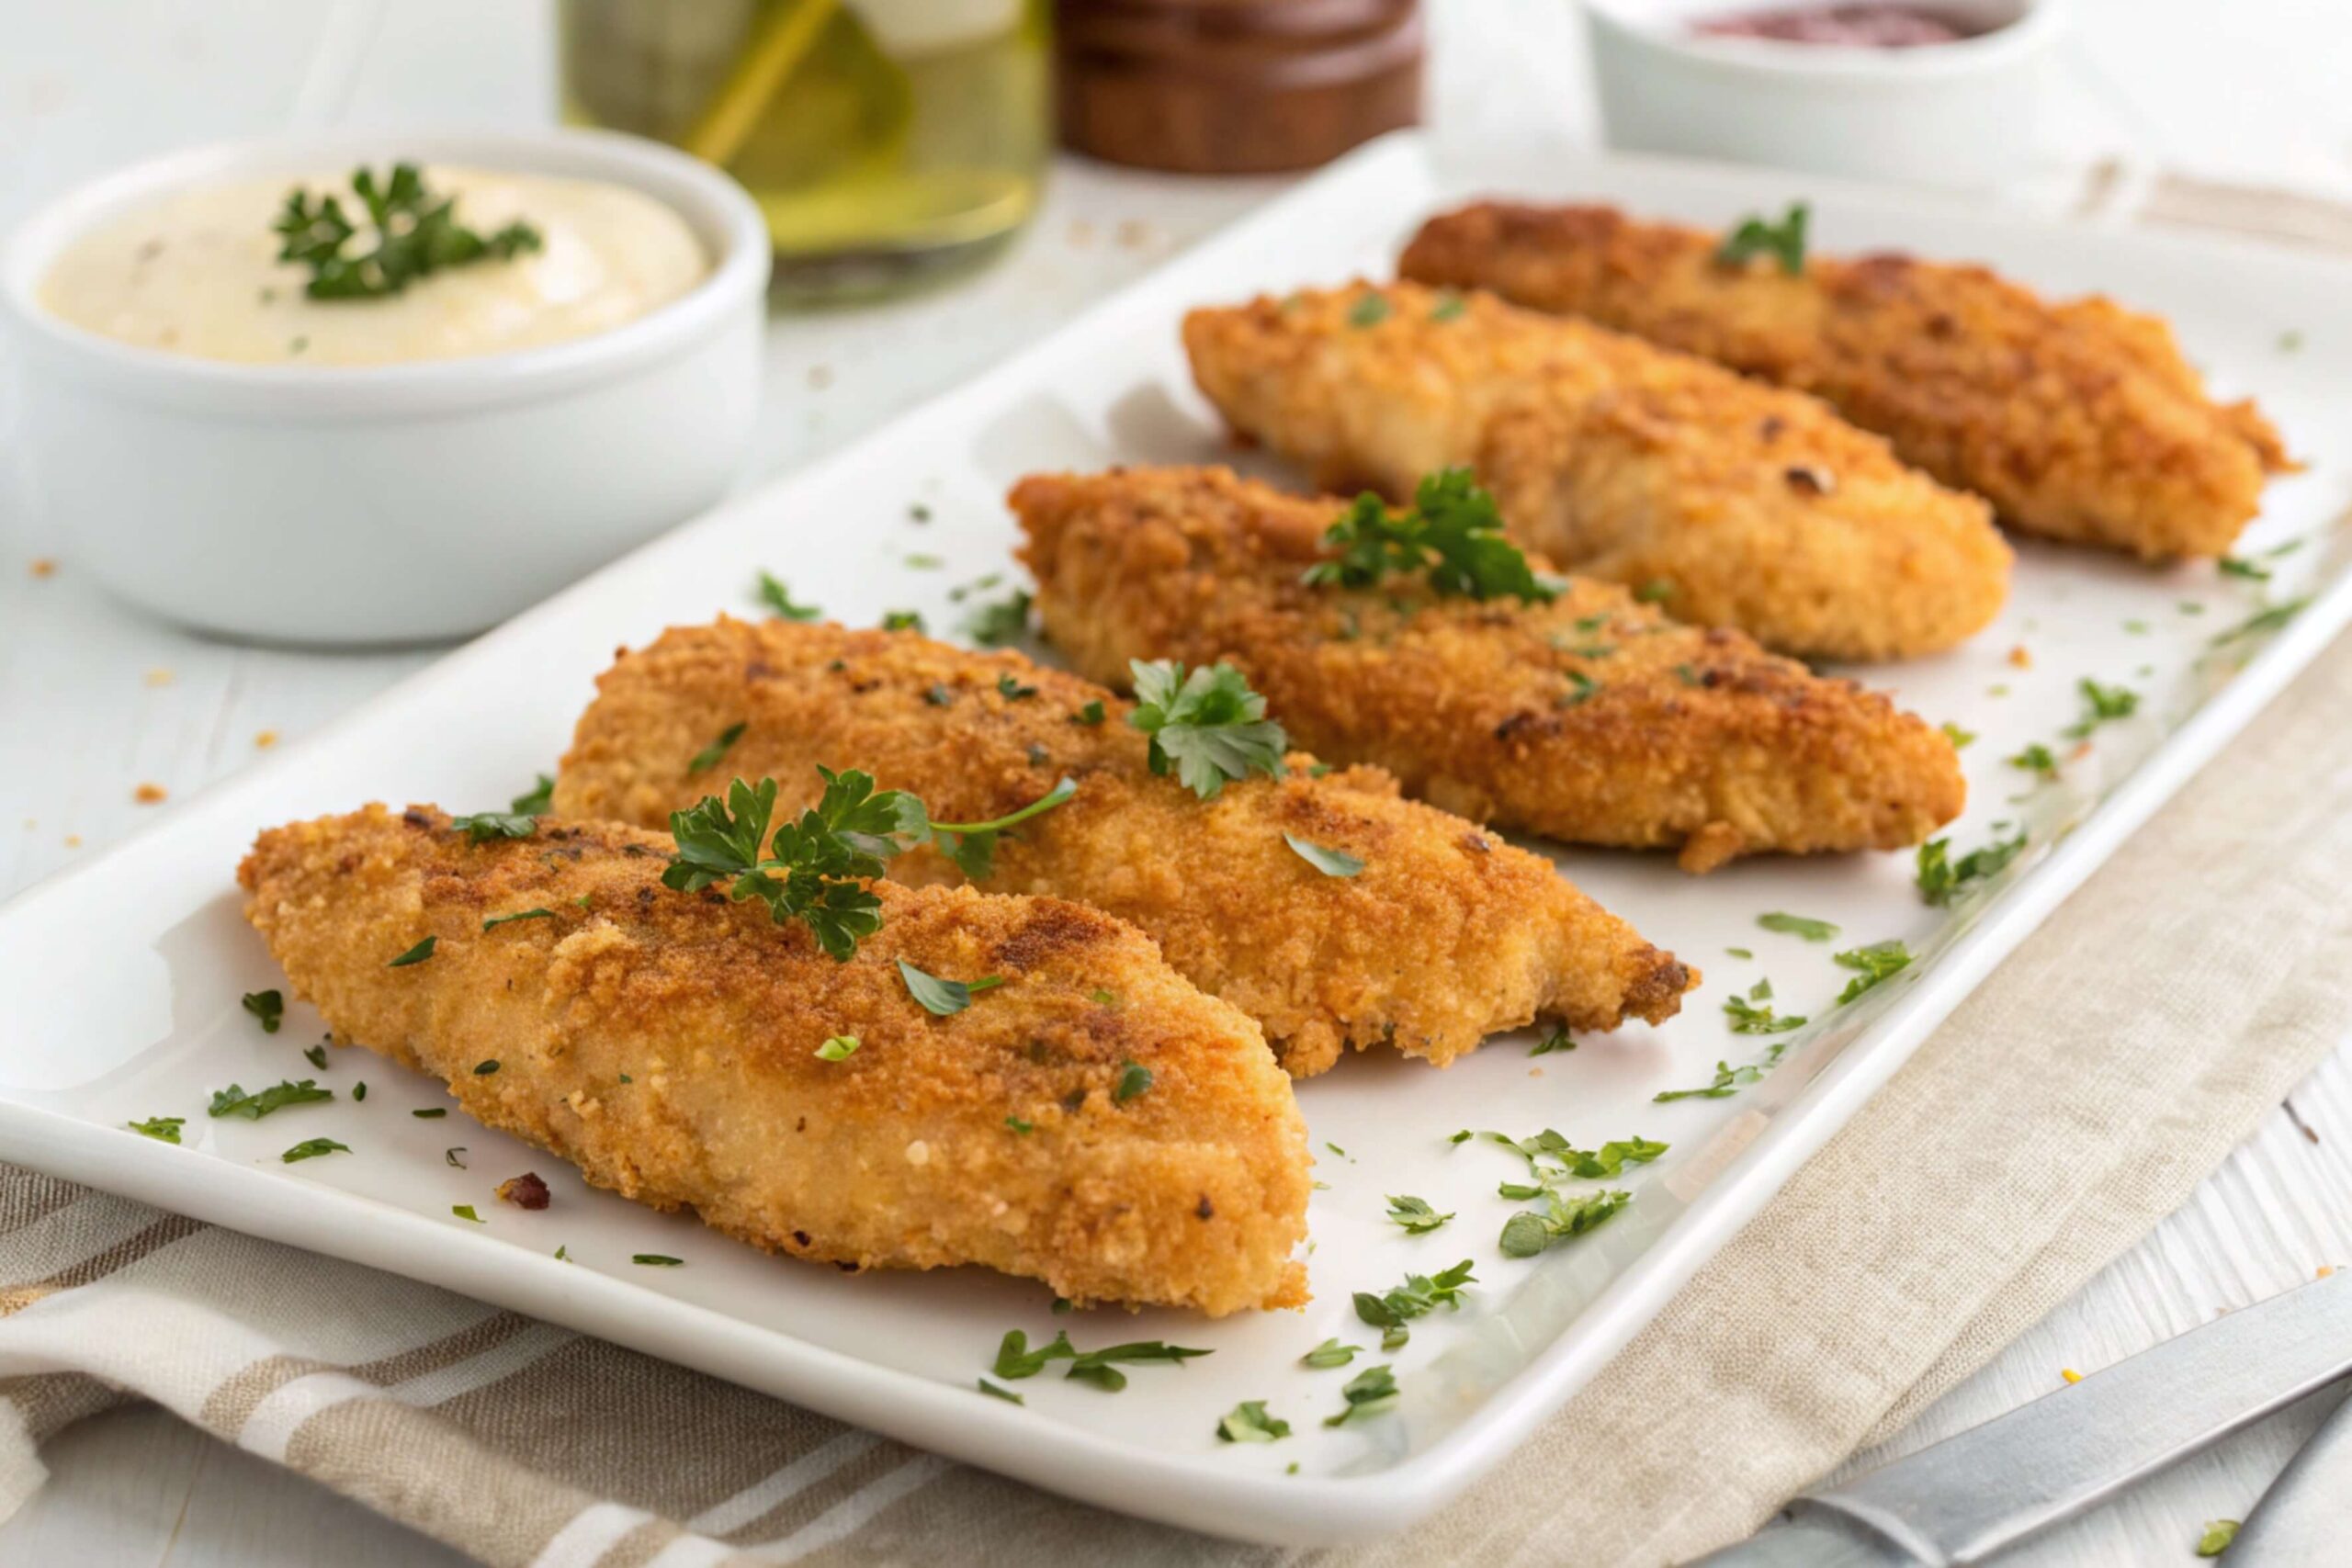
Crispy fried chicken tenders.
What’s not to love?
They’re crunchy, juicy, and totally irresistible.
Better than your local takeout joint.
And yes, you can make them at home without setting off the smoke alarm.
Stick with me, and I’ll show you how to make the crunchiest, tastiest tenders your taste buds have ever met.
Why Make Your Own Chicken Tenders?
Homemade tenders are the real deal.
- No weird additives.
- You pick the seasonings.
- They’re fresher, cheaper, and way more satisfying than a fast-food run.
Plus, you get bragging rights.
What You’ll Need
Chicken
- 1.5 to 2 pounds of chicken tenders or breast strips.
- Tenderloins are your VIP option for extra juiciness.
The Magic Breading Mix
- 1 1/2 cups all-purpose flour.
- ½ cup potato starch for a crunchy kick.
- 1 cup cornstarch for crisp perfection.
- 1 tablespoon baking powder (hello, air bubbles!).
- 1 teaspoon kosher salt.
- ½ teaspoon each of black pepper, garlic powder, and paprika.
- A pinch of cayenne for heat – or skip it if you’re spice-shy.
Wet Ingredients
- 2 large eggs.
- 1 cup cold water (trust me, it keeps things juicy).
Frying Oil
- Neutral oil (vegetable, canola, or sunflower).
- Avoid olive oil – it’s not built for this.
Optional toppings? Sprinkle some sea salt or parsley to keep it fancy.
[woo_product_slider id=”3030″]
The Crispy Roadmap

Step 1: Prep Your Chicken
- Rub those chicken tenders with salt, pepper, paprika, and garlic powder.
- Let them sit for 20 minutes. They need their beauty rest.
Step 2: Set Up Your Stations
- Three bowls, like a mini assembly line:
- Bowl 1: Seasoned flour.
- Bowl 2: Whisked eggs + cold water.
- Bowl 3: Flour, starches, spices, and baking powder.
- Add a touch of water to Bowl 3 and scrunch it up. Those little craggy bits are the secret to extra crunch.
Step 3: Coat Like a Pro
- Dredge the chicken in Bowl 1 (flour).
- Dunk it in Bowl 2 (egg wash).
- Toss it in Bowl 3 (breading) and press firmly.
- Let the coated tenders chill for a few minutes.
Step 4: Fry, Baby, Fry!
- Heat your oil to 325°F in a big pot.
- Fry tenders in small batches – no crowding!
- First fry: 325°F for 4 minutes.
- Second fry: Crank it up to 375°F for 2 minutes.
- Drain on a wire rack. Paper towels are fine, but racks keep them crisp.
Pro Tips for Ultimate Crunch
- Double Fry Magic: First fry cooks it. Second fry crisps it. Game-changer.
- Keep Your Oil Happy: Monitor the temperature. Too hot? Burnt chicken. Too cool? Greasy disaster.
- Shake It Off: Extra breading means a messy fry. Tap gently before frying.
Get Creative with Flavours
- Spicy Twist: Add chili powder or Cajun seasoning.
- Cheesy Bread: Toss some Parmesan into the breading mix.
- Herb Explosion: Mix dried basil or oregano into the seasoning.
Dips That’ll Steal the Show
Chicken tenders are just an excuse to eat sauces, right?
Try these:
- Ranch
- Honey mustard
- BBQ
- Sweet chili
- Spicy mayo
Leftovers? No Problem
- Store It Right: Fridge for 3-4 days.
- Reheat Like a Boss: Air fryer or oven for crispy revival.
Crunch Around the Globe
Did you know? Different countries put their spin on fried chicken.
- Korean: Sweet, spicy glaze.
- Japanese Karaage: Soy-marinated, bite-sized delights.
- Taiwanese: Popcorn-style with five-spice.
Making crispy fried chicken tenders at home isn’t just cooking.
It’s an art form.
Get frying, and let your inner chef shine.
Oh, and don’t forget to brag about it.
Go ahead. Your crispy creation deserves it.